Tag: bikes

  • The Rift – the Icelandic bike adventure (part 1)

    The Rift – the Icelandic bike adventure (part 1)

    When Gravel cycling was still a marginal thing, (that is before Gravel became the new Fixie, aka before Gravel events became the Pros retirement plan) I came across this unique cycling event and I was hooked right away. My first thought was… cycling in Iceland? In Fact, I knew very little about Iceland, besides the usual. I did not even think there was a cycling scene over there.

    One day, GCN covered The Rift and I knew right away, after watching the video, that I had to attend one day. It sure felt like this event would become an unforgettable experience in one of the most breathtaking place on Earth.

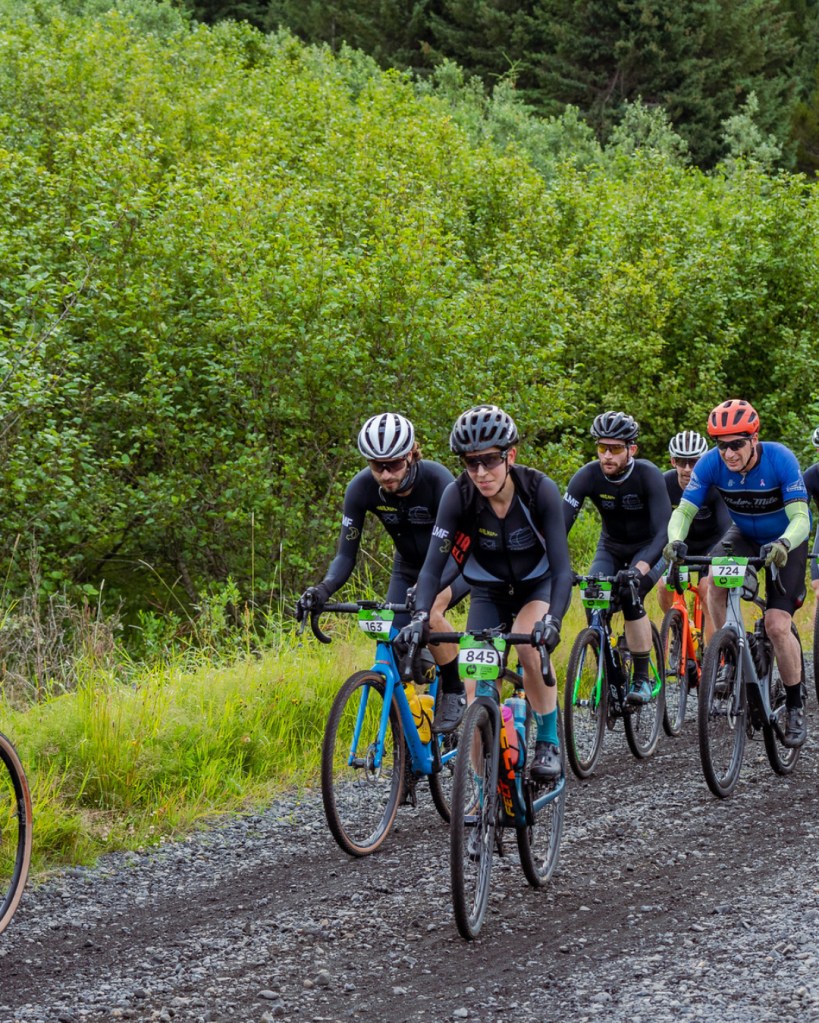
    As Iceland is nicely situated between Canada and Europe, the event attracts people from everywhere and in growing numbers. The 2021 event had 200 participants and the 2023 version more than 500. (for the 200km distance)

    And the fact that Iceland has the potential to be cold, windy, covered with snow at any time of the year made it more attractive, even though I absolutely despise Canadian winters. It just felt like this could be a great event and a great cycling adventure.

    What makes The Rift special?

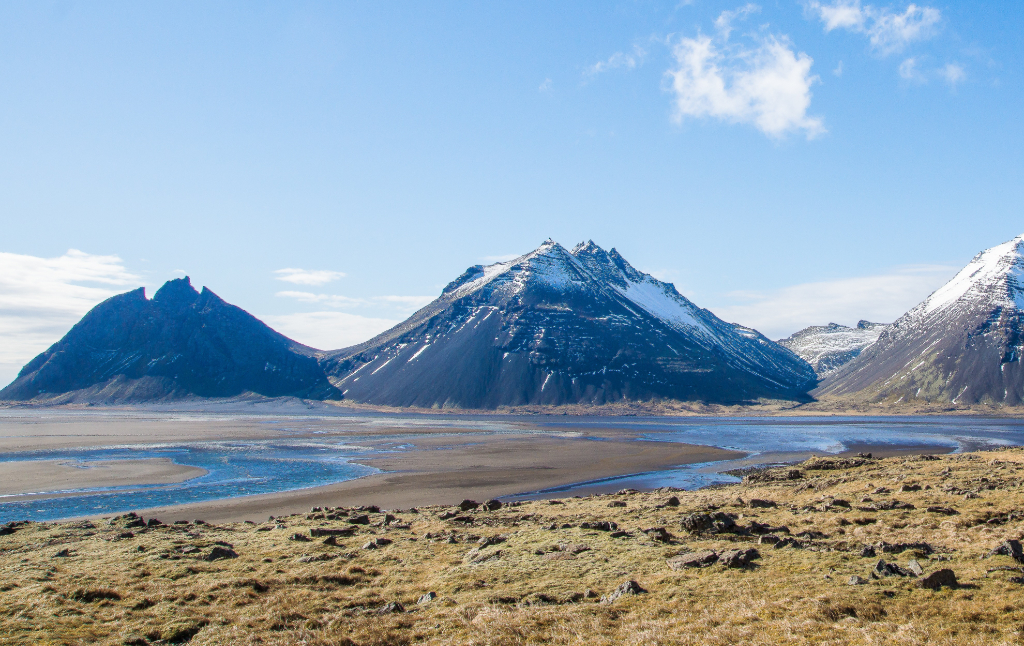
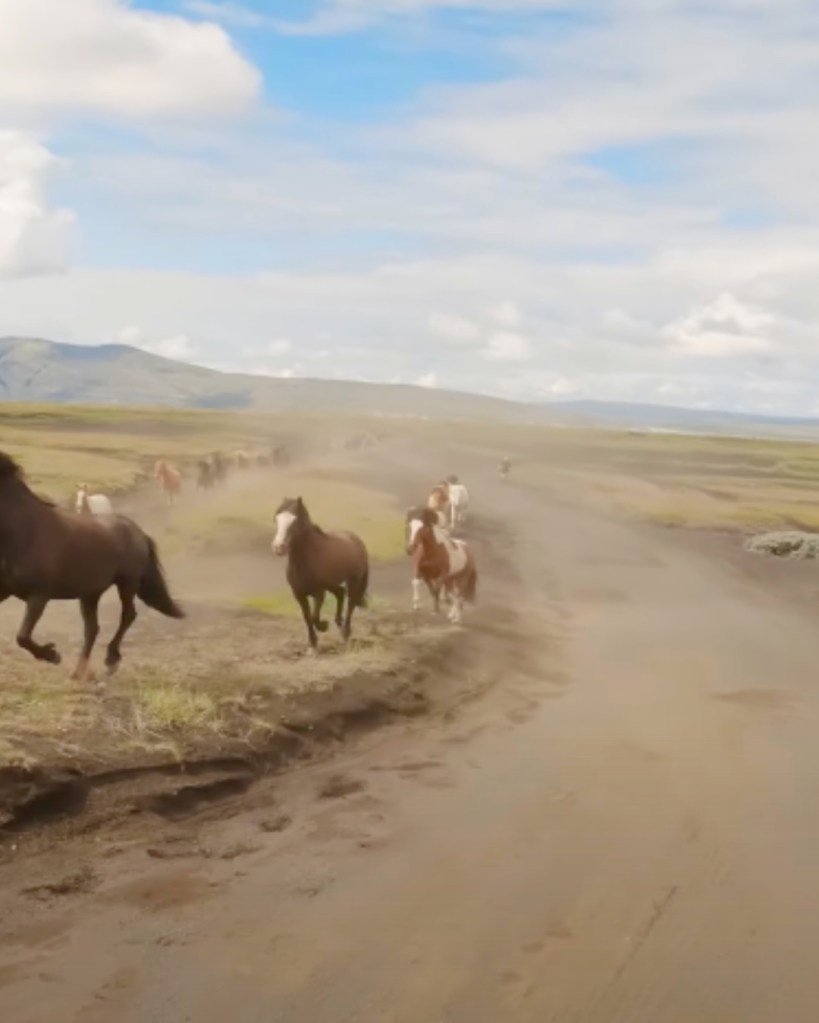
    The Rift is not your average gravel bike race. It covers a distance of 200 kilometres through the rugged terrain of Iceland, including lava fields, glaciers, and volcanic landscapes. There is a pretty cool portion where you ride down a snow covered Volcano. Riders must navigate gravel roads, Uber cold river crossings, and challenging climbs, some you can only go up by walking. All that, and much more unpredictable events and weather making the Rift a true test of skill and endurance. In 2022, a pack of wild horses ran beside the riders in a valley… it was spectacular.

    My friend Max crossing a river during the 2022 edition.
    The same river crossing a few minutes later. Heavy rain and high winds quickly replaced the sunny weather.
    My friend Charles got this shot while riding.

    In a matter of a few minutes, you can be riding under a sunny sky, shortly followed by a sudden and heavy rain fall or Hail, strong winds which of course will always be against you. The first 100km are going up. Not by much, as the total elevation is 2165m but most of the climbing is within the first half. Let’s just say that after 180km, the final remaining inclines hurt. A lot.

    More about the terrain and the course later.

    How can you prepare for The Rift?

    Well, that comes down to preparation. I’d sum this up like this: There are different aspects you need to prepare to succesfully complete The Rift. To tackle The Rift without suffering too much, you must be in a close to top physical condition. Additionally, you must have the right gear. Finally, you must manage your food intake regardless of the weather conditions.

    1- Training

    Training for long-distance gravel riding is something you should consider hiring a coach for. At least consider it. I know that modern cycling trends are pushing cyclist to ride longer and longer than ever. But still, 200km of road biking and 200km of gravel in Iceland is quite different.

    2- Bike and Gear preparation

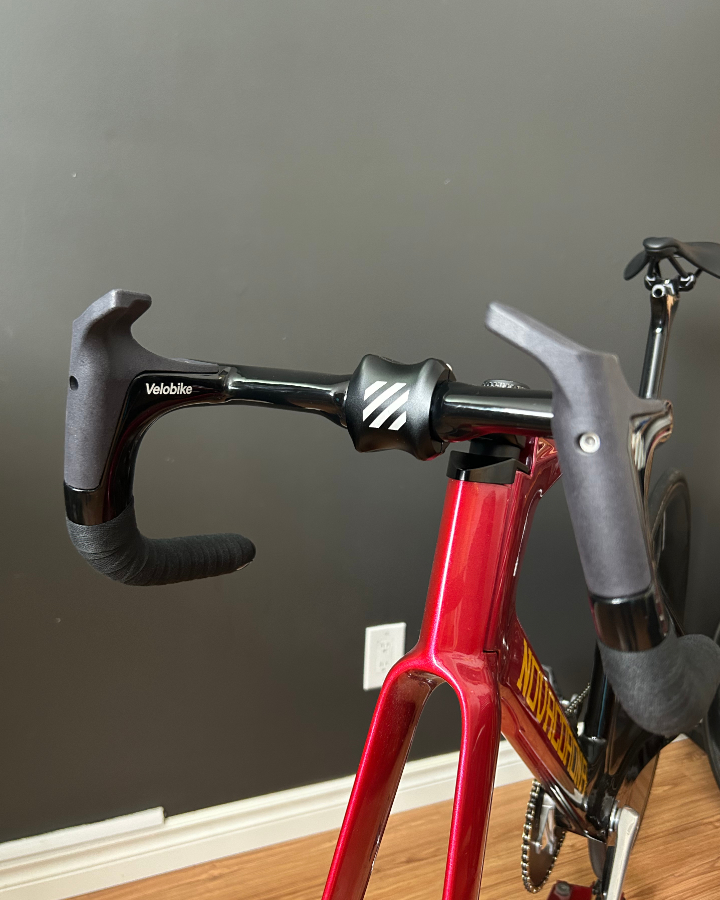
    Obviously, if you travel all the way to Iceland with your bike to participate in a potentially once in a lifetime event, you must make sure your bike is in top condition. Duh.
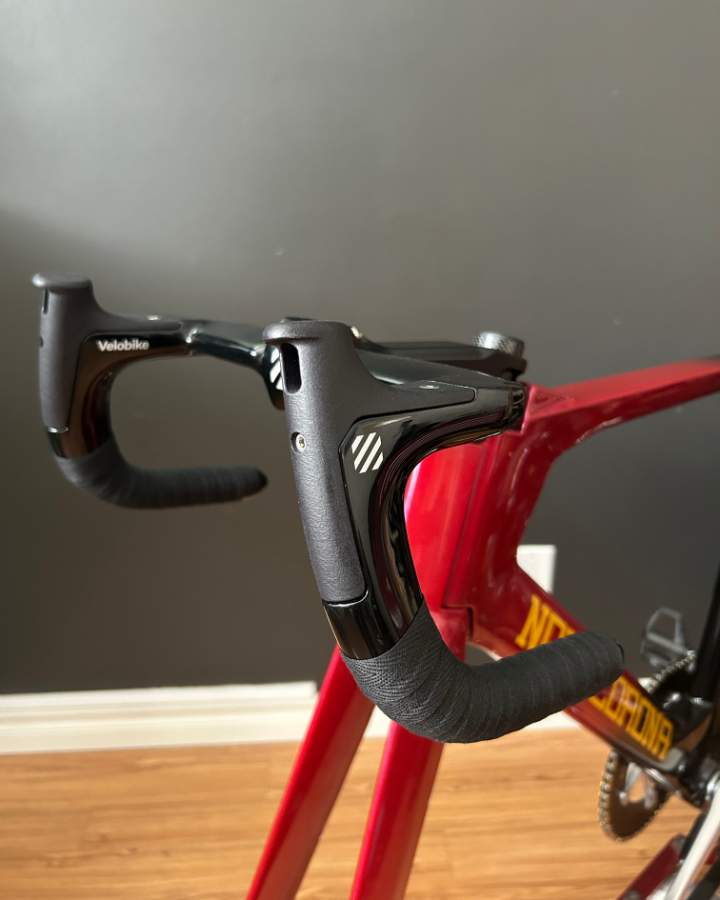
    The Bike Stuff

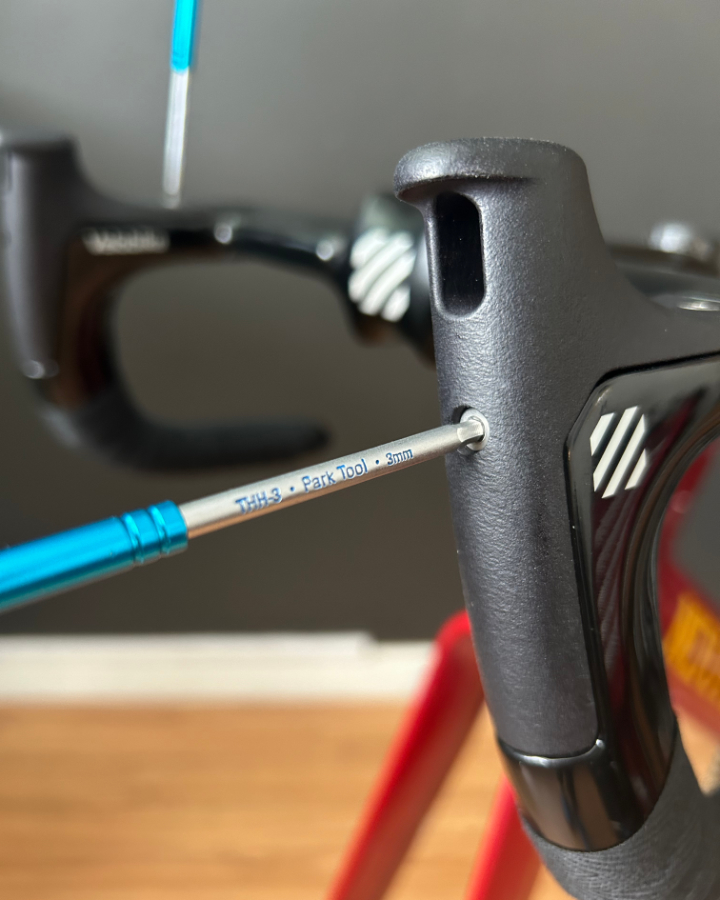
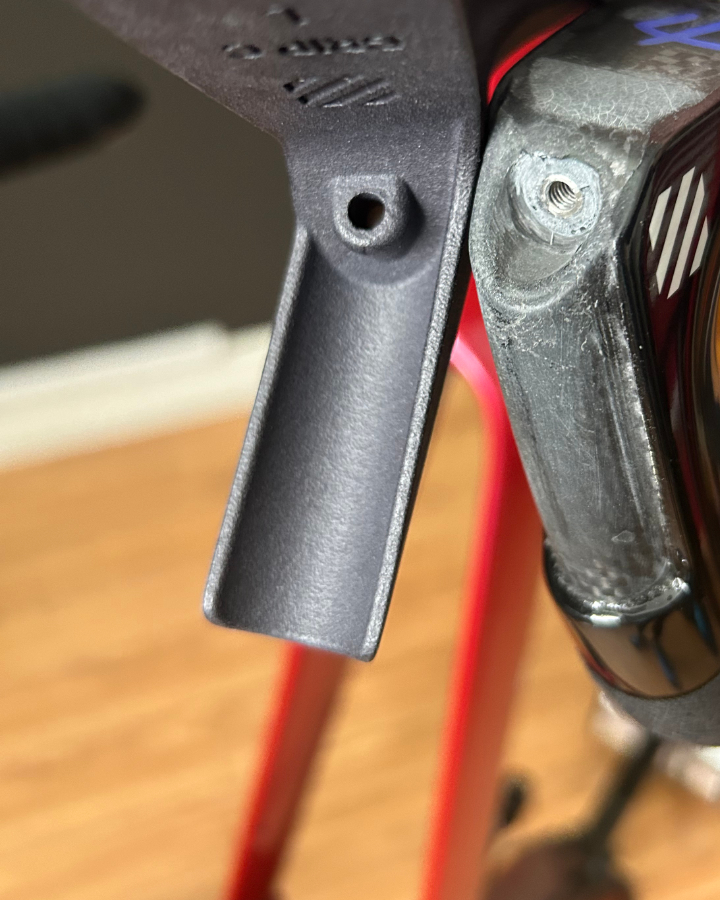
    On top of having a bike in perfect condition, you must get familiar with how your bike works, what kind of parts are on it and have a minimal knowledge of how to fix it. Honestly, this is something The Rift organization does not mention enough in their Race guide.

    The Rift is a long event, you will be in the middle of nowhere, with little to no cellular coverage. You must be ready to fix almost anything on your bike, on your own. So learning how to fix a flat tire, repair a broken chain, install a tube in a torn tubeless tire, quickly bend back a disc, align your stem/handlebar assembly are just a few of the mechanical operations you should know how to do. You might have to perform any of these under conditions that are not the best. Imagine having to fiddle with a chain tool with frozen hands in windy and snowy conditions… I really do not want to scare anyone, but better be prepared than not.

    River crossing is pretty fun, but it can also mean the end of your ride if you crash on the derailleur side and break drivetrain components.

    In 2022, my first and only participation, I repaired 3 punctures (not even mine) and fixed a ben rim with a can opener and a volcanic rock. I had Tubeless sealant all over my gloves and rode 80km with a tubeless insert around my back. I helped a pro rider who had 8 punctures and needed a new wheel (I don’t know how he got a new wheel to finish his event). I mean… come one dude. That guy was not ready. Make sure your bike is in good condition and ready for a 200km gravel ride.

    Then, you must prepare your spare parts and repair kit. In essence, I strongly recommend that you pack these things, add more if you need more, but these would be the essentials:

    -Spare Derailleur Hanger
    -Chain breaker
    -Quick link
    -Multi-tool
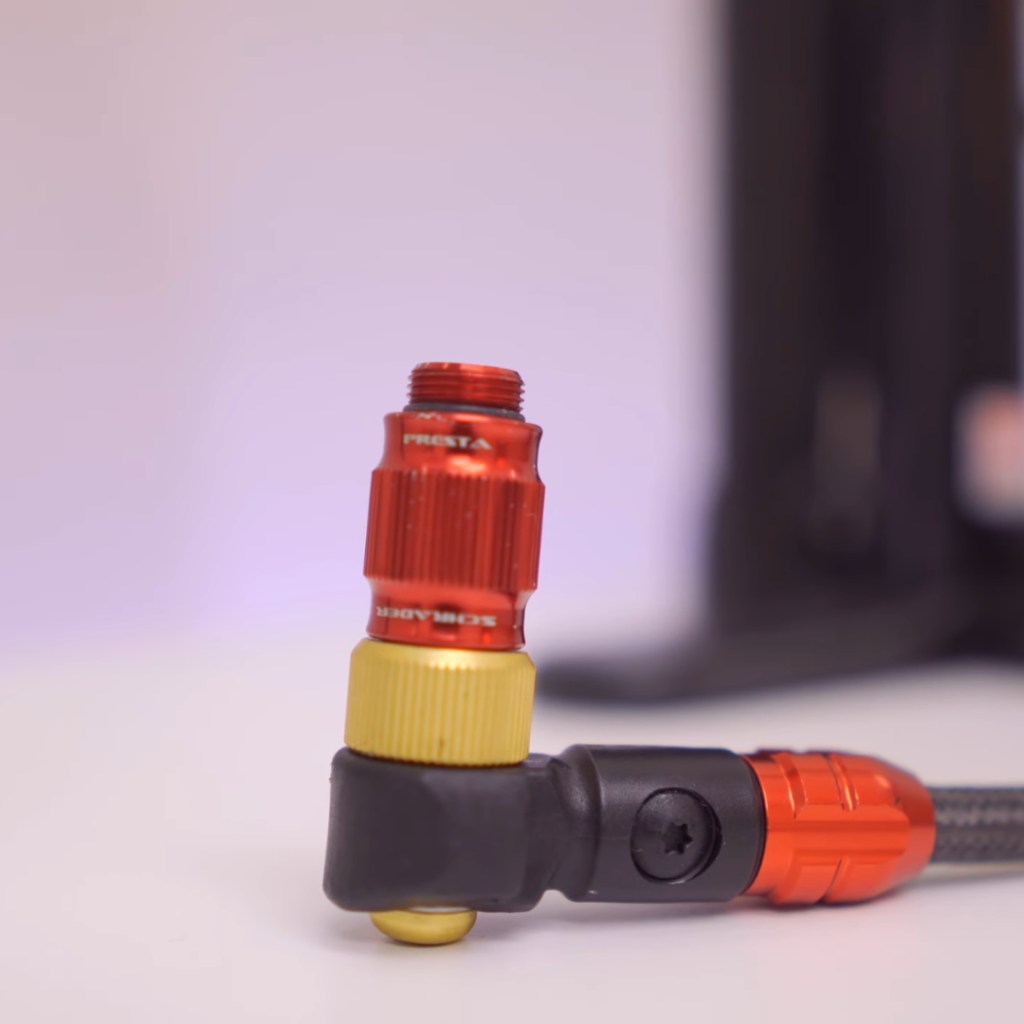
    -Some sort of tubeless Repair kit (plugs and tire patch)
    -Mini-pump and Co2 cartridges.
    -Ultra-light spare tubes. The new Pirelli tubes are great. Super light, very compact. Worth the very expensive price.
    -Spare valve core
    -Small knive

    Once you got your repair kit ready, practice repairing stuff on your bike with it. It will be worth it.

    The riding Gear

    Finding the right clothes to wear for an event where about every type of weather conditions are expected is a challenge.

    If you are like me, IE not an outdoor, trekking, camping and mountaineering specialist, you will need to find the right gear to be comfortable and ready for anything. Which means understanding rainproof materials, merino wool, and find the best clothing you can for the budget you have. One great thing about The Rift is that they allow you to pack a small bag, which most people refer to as the ”sock bag”, that they will bring up to the 3rd feed (at 100km). Prior to the start, you can drop your bag, containing whatever you filled it with, in a huge truck. Unless you plan on winning the race as a Pro or in your age category, I’d strongly recommend taking advantage of this.

    The 100km feed (3rd) where you can grab your spare socks bag.
    Long sleeve skinsuits are excellent for the Rift.

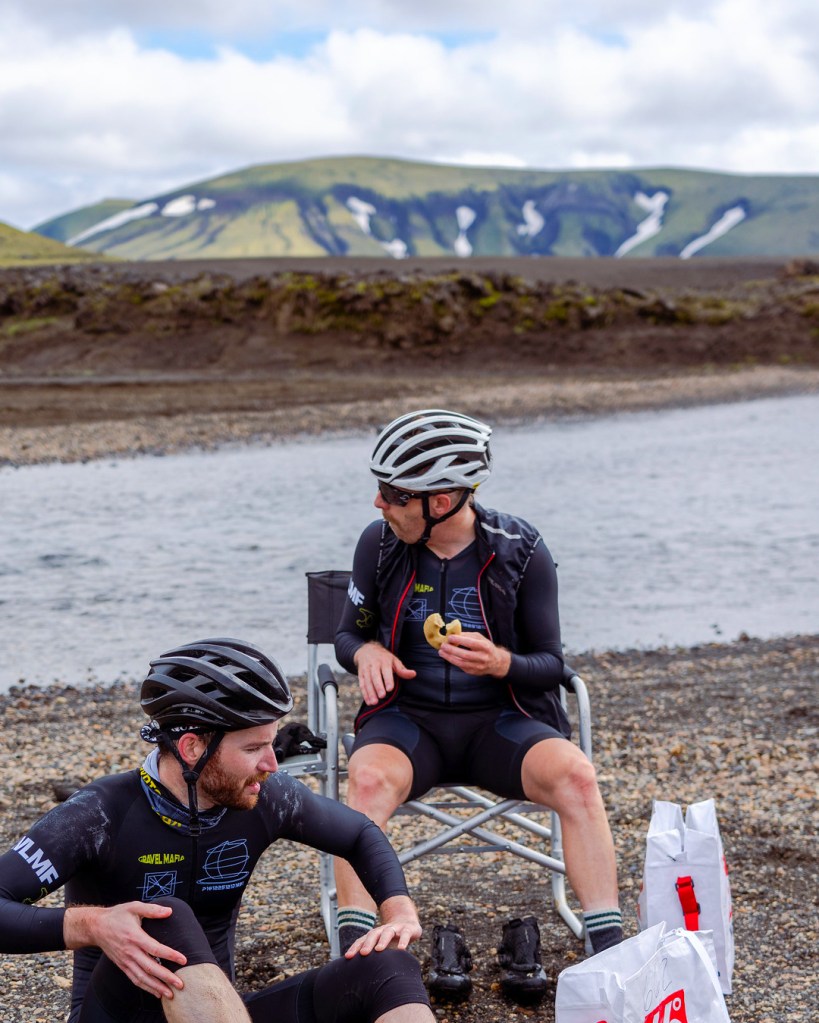
    Typically, you would put in there a pair of warm socks (perhaps the ones the organization provides with each entry), spare gloves, maybe some food and a dry Buff. If you left with too much stuff, you can drop it in the bag and recuperate it at the end of the event. Whatever you think you need, put it in there. Better pack that bag with loads of stuff you won’t use than regret not packing it later. You could even cram a spare tube in there just in case.

    Because the weather changes so much, your clothes must allow you to ride comfortably in all those conditions. You will cross many rivers, walk up steep hills, run in loose snow and much more. So there is little you can do against all that. Compromise is key, I guess.

    Here are the clothing accessories that I think are essential:

    -Super light packable Gore-Tex-ish jacket.
    -Well padded long finger gloves
    -Super light short sleeve vest
    -Long socks of any type
    -Good Gravel/mountain bike shoes
    -Breathable Base layer
    -Photochromic lenses
    -Gravel/adventure style bib shorts (for their side pockets)

    Be ready for anything and everything. My Gore rain jacket perfectly fits in my toptube bag, making it easy for me to grab it and put it on while riding.
    3- Nutrition

    Again, a no brainer. To make your way through 200km of gravel cycling, you will need a considerable amount of fuel. One thing the organization has dialled in are feed zones. Man, there is all you can think of at each and every feed station. The thing is, it’s mainly junk food. I am not saying it’s bad, but think of the feed zones as a safety feature if ever you packed less food than necessary.

    Nothing is worst than hitting a wall at 120km knowing you still have 80 to go… (remember that last hill you must climb near the end I was talking about earlier?)

    So part of your training before the event will consist of finding the right food for that kind of distance and time spent on the bike. Can you tolerate it well? Is it easy to digest? Is it home made or pre-made? How do you eat it while riding? Where do you store it? etc.

    And the other thing to consider is that the food you are used to eat and train with might not be the food you need in this type of weather.

    My advice is, try to eat ”real food” as much as you can and keep the gels and bars and energy chews to top off your energy needs.

    And train using the bars, gels and other similar food you plan to use for the event.

    Circling back to the 100km feed and ”sock bag” truck: this feed station will also have Sandwiches of many different types. Which came as a huge relief for me.

    I am by no means a Nutrition expert but if you want to plan ahead, there are common food intake guidelines and formulas you can use. Those can easily be found online, but search for trustworthy sources and consult a certified Dietician/Nutritionist if you are in doubt. After all, incorrect food intake can lead to dangerous health issues. Don’t neglect that.

    End of part 1

    In the next part, I’ll present you with more gear for your bike and for yourself. I’ll talk more about the course itself as well.

    Almost there! The last banner seconds before you cross the finish line.
  • Velobike Skat Endurance Handlebars Update

    Velobike Skat Endurance Handlebars Update

    As far as I know, the Velobike Skat Endurance Handlebar is the first modular handlebar on the market.

    By modular, I mean that it can be adapted to offer different types of hand positions and (to be confirmed) to different aerodynamic characteristics.

    The Grip-C

    When I originally purchased this handlebar, it came with the Grip-B, which are fine, but I wanted the grip-C, that seems to offer a better grip and safer position by locking your thumb onto the grip. the grip-C finally arrived and I went on to install them.

    The Velobike Skat handlebar with Grip-B
    The Grip-C with Grip-B in background
    Installation

    All these grips can be easily removed by using an hex key. Well in fact, you need 2 sizes: 2.5mm and 3mm. If I was the type to change my grips depending on what event I was attending, I’d really wish only one hex key size would allow to remove all the bolts.

    After fiddling a bit, I can recommend that if you have to replace your grips, get the top bolt snug before the front one. when I did the opposite, the top bolt was not going in easily, as it was rubbing against the grip itself. Seems like the top hole position could be moved forward by perhaps 1mm…

    The installation is still easy and everything perfectly fits. It’s just me being picky considering the high price of this handlebar.

    Comfort

    Well, I was quite surprised. the Grip-C has a quite sharp edge where the thumb rests. I think I was hoping for something a little more ”round”. I added some Zefal Coton Tape to provide some grip and comfort.

    Most pictures I have seen online from athletes using these showed that the grips are actually used as some sort of aero extension rather than ”brake hoods”. It’s only a matter of time before the UCI reacts and bans that kind of usage of the Grip-C. Hopefully, I’ll be able to use them enough before it happens.

    Final thoughts

    I am still very excited about these handlebars: finally adding a safer grip option, that clearly makes this product unique compared to my Bici hoods, was what I was looking for all along. It will allow me to adopt a very ”aero” position while having a firm and secure grip on the handlebars.

    Not ready to spend so much money on handlebars?

    More and more options are becoming available on the market. Seems like Bici will eventually come out with a new hood design, so keep an eye out for those. I’d say the strongest contender and most viable option as an alternative to the Velobike Skat Handlebar is the Vision Metron Track handlebar. The Thumb rest is very smooth, rounder and offers a similar grip surface.

    There are 2 main things to consider:

    – The vision Metron Track is only offered in one width: 36.5mm

    – It is very hard to find because it is rarely available.

    On a positive note, depending on your position toward high end gear and Track cycling gear: maybe you pay double the price for the Velobike stuff, but it’s readily available, worldwide. When you purchase something from Velobike, you get the feeling and the satisfaction that you are buying a product that was made for track cyclists and that the company cares about their customers.

  • The Lezyne Pressure Overdrive Pump

    The Lezyne Pressure Overdrive Pump

    A pump designed for tubeless tires installation.
    Lezyne Pressure Overdrive floor pump.

    The struggle to install tubeless tires are home might be over. Especially if you have limited room and no space for a small air compressor. Introducing the Pressure Overdrive pump from Lezyne. A floor pump with an air canister attached to it that supposely can help you seat any tubeless tire. I have been testing this floor pump for the last 6 months and here are some thoughts.

    The Lezyne Pressure Overdrive floor pump is a big floor pump and thanks to its air canister and foot activated release valve; it’s ideal for seating tubeless tires at home and on the go.

    The secondary chamber (the canister) can be pumped up to store air under pressure. This air can then be used to seat a tubeless tire. If the tire was properly installed and centered over the rim, this sudden blast of air can easily seat the tire bead of any road, gravel and most mtb tires.

    I did a video review on my youtube channel about this Pump. I’ll link it a bit later in the article.

    Some cool specs

    The Pressure Overdrive boasts some cool features that are inline with Lezyne’s innovative nature.

    It’s got a huge gauge. It sits at the top of the pump so not only is it easy to read, but it’s also less prone to get damaged and collect dust.

    The (infamous) Lezyne air chuck also has an incorporated valve core remover. Quick tip: if you remove the valve core before trying to seat your tubeless tire, you will greatly improve your chances of succeeding.

    the Lezyne ABS-1 pro chuck
    the ABS-1 pro chuck can also be used as a valve core remover.

    Most of the small parts are available from Lezyne or their distributors, so you can replace the chuck, the hose, the gauge, etc. Even the wooden handle is available.

    It can inflate tires up to 200psi.

    How it works

    It works just like a regular pump, but keep in mind that you should always keep some air in the canister, even if you don’t plan on installing tubeless tires. If there is no air in the canister, the air contained in the tire will flow in the canister. That means more pumping.

    Once you operate the foot lever, the air in the canister will flow in the tube/tire/tubular (or the other way around if there is more pressure in the thing you are trying to inflate) until the pressure in both is equal. Only then it is possible to inflate to the desired value.

    Before disconnecting the hose, make sure you close the canister valve. Otherwise, you will lose all that hard gained pressured air. (It happened to me a lot, and it sucks.)

    Does it work as promised?

    Yes! Especially if you remove the valve core first. And there are more ifs:

    Make sure the tire is well installed

    Make sure the rim tape is in good condition

    Get as much air as you can in the canister. Don’t think 80psi will be enough, it won’t.

    Once you open the valve, the air will quickly rush out of the canister. Make sure you can help the tire seat, or ask a friend to help you if you have one of these super supple tires. (Like a Rene Herse extralight).

    Is it a good everyday floor pump ?

    Not really. First of all: It’s slow. Although the actuation is very smooth, and it’s easy to get high pressures out of it, the volume it displaces is quite low. If you are in a rush before a race or at the shop, I would not be using that pump.

    Then, keep in mind that a lot of people just can’t manage the Lezyne ABS chuck, so you will either have to help them inflate their tire or replace it when they break it. I’ve been dealing with that chuck since it launched and I can tell that it’s not a popular feature.

    Luckily, Lezyne also makes a more traditionnal chuck, the Dual Valve Pump Head, that can be installed on any of their pumps.

    The pros

    It works for what it was designed for. Sounds obvious right? Well not all air canisters work and not all of them have the built quality of the Lezyne.

    The huge quantity of spare parts available for this pump means that your investment will last and you will be able to maintain it over time.

    It can also inflate track tubulars. Yeah, at the opposite of the tire technology spectrum, you will find tubulars. A stitched closed tire casing with an inner tube stuck inside, sometimes made of latex.

    Thanks to a gauge that goes up to 200psi, and because the pump is actually easy to operate, even at high pressures, this pump can become your track day pump. Incidently, a Silca 90degre pipe fits the ABS chuck threads perfeftly.

    It’s built to last. The Pressure Overdrive, like most Lezyne products, is made of quality materials, more often then not machined alloy and steel. High grade plastics are used for smaller parts.

    The cons

    It’s bulky and not well suited for travel or weekend rides. So you’ll need a second pump to throw in your car or the keep next to the door when you just want to add a wee bit of air.

    The ABS chuck is a well designed product. I personnaly dont mind it, but I know it’s not made for everyone. It can lead people to get so angry at their pump… believe me. There is a lot of tightening and untightening involved in inflating a tube or tire with a Lezyne pump. Plus, I’ve seen countless amounts of valve cores behind removed by accident by unexperimented Lezyne pump users.

    Get the Dual Valve head and be happy. 🙂

    Let’s talk about the price

    At 149$us, 199$cad, the Pressure Overdrive pump is not cheap. Heck it’s the price of a small air compressor.

    But the built quality is up there. The many functionnalities and characteristics are worth the price. Plus it’s a non-disposable product: spare parts are available and easy to find. If you care about keeping your stuff for a long time and reduce your consomption of products that end in the bin, any product made by Lezyne is made for you.

    Is it for you?

    If you enjoy doing your own mechanical work, and you have to deal with multiple tubeless wheelsets, this could be for you.

    Especially if you have limited space. Perhaps, like many, you live in a small appartment or far from a bike shop.

    If you only have one bike, and don’t care about tubeless installation, this is probably not for you. There are better floor pumps for general usage. Also keep in mind that dealing with tubeless tires, sealant, rim tape installation and worned out valves can be frustrating and exhausting. Sometimes it’s just better to bring your stuff to your local bike shop and have them do the work, with better tooling and more ressources.

    Verdict

    As a ex professional mechanic, dealing with many tubeless wheelsets, the Pressure Overdrive pump is the best home mechanic pump I could hope for. It’s also, I must say, the minimum I would go for considering the high volume of bikes I have to maintain. Anything less than what the Lezyne Pressure Overdrive has to offer would simply not cut it.

    During the 6 months I used this pump, I also came to the realization that I am probably going to need a small good quality air compressor.

    Video review
    About the testing and review:

    I purchased the Pressure Overdrive pump with my own money. Although Lezyne sent me many products to review over time, they did not have access to this review before posting it. My review and opinions are solely based on my experience with the product.